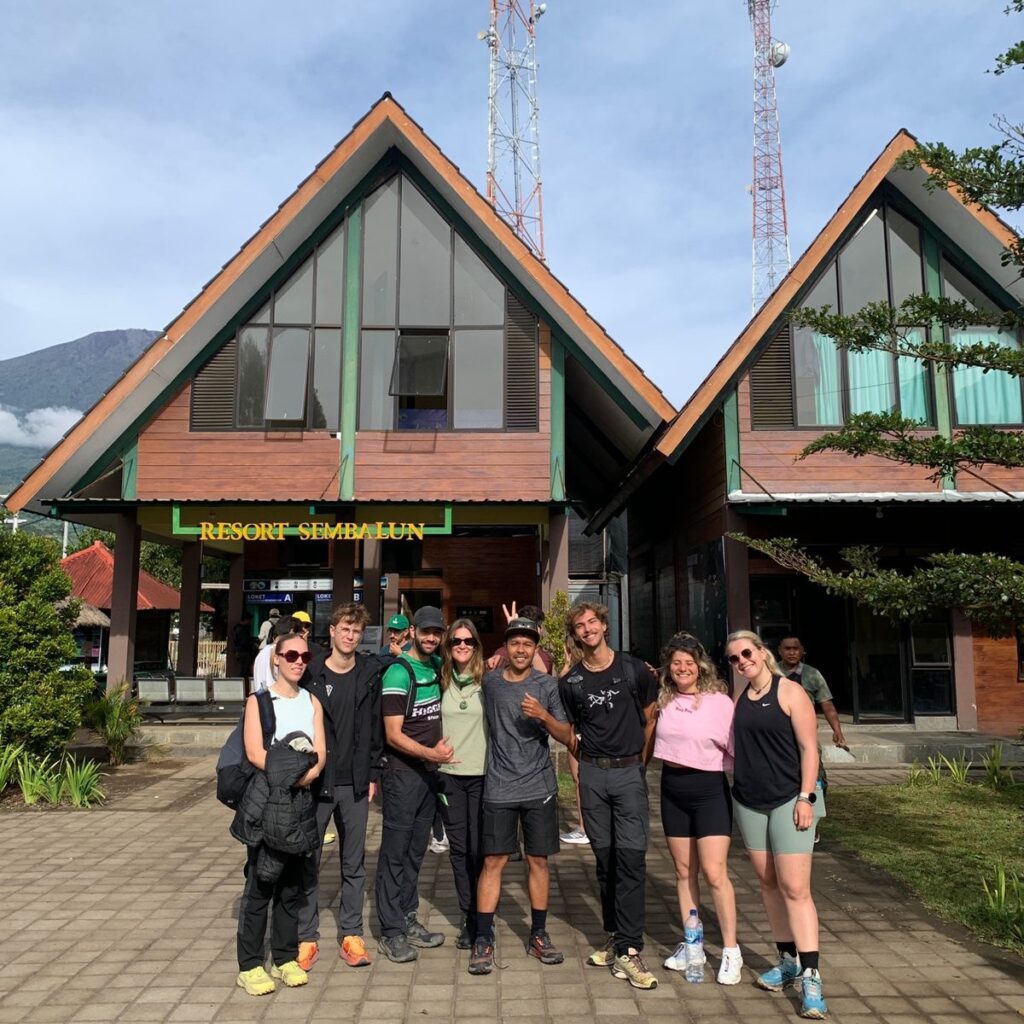
When planning a Rinjani trekking tour, the most common question hikers ask is which route they should take. Mount Rinjani National Park has two primary gateways: the village of Senaru in the north and the village of Sembalun in the east.
While both trails eventually lead to the spectacular Segara Anak crater lake, the experience, landscape, and physical demands of the first day are entirely different. Depending on whether you want to conquer the summit or just enjoy the scenery, choosing the right Rinjani trekking package and starting point is crucial.
Here is a breakdown of the Senaru vs. Sembalun routes to help you decide.
The Sembalun Route (The Summit Chaser’s Path)
If your primary goal is to stand on the 3,726-meter summit of Mount Rinjani, you must start in Sembalun.
Sembalun village sits at a higher elevation (~1,150 meters) than Senaru. The trail begins with a relatively flat, gradual incline through vast, open savannahs. This allows you to cover a lot of ground quickly before facing the steep climb up to the Sembalun Crater Rim (your basecamp for the summit).
The Pros:
-
The Only Way to the Summit: Starting here puts you at the correct basecamp to begin your 2:00 AM summit push the following morning.
-
Gradual Start: The first few hours are a gentle walk through beautiful rolling hills.
-
Higher Starting Point: You shave off about 500 meters of vertical climbing compared to Senaru.
The Cons:
-
Sun Exposure: The savannah offers zero shade. Under the tropical Indonesian sun, the hike can feel brutally hot until you reach higher elevations.
-
Dusty Terrain: During the dry season, the trail can be very dry and dusty.
The Senaru Route (The Scenic Jungle Path)
The Senaru route begins at a much lower elevation (~600 meters) and immediately plunges you into a dense, ancient tropical rainforest. You will spend 70% of your first day hiking under a thick canopy of trees.
Most hikers who start in Senaru are doing a shorter 2-Day/1-Night trek just to see the crater lake, or they are doing a longer 3-to-4 day traverse that ends in Sembalun.
The Pros:
-
Plenty of Shade: The thick jungle canopy protects you from the intense sun, making the climb much cooler.
-
Wildlife: You are highly likely to spot black ebony leaf monkeys (Lutung) and macaques swinging through the trees.
-
Best Crater Rim View: The view from the Senaru Crater Rim is widely considered the best on the mountain, offering a direct line of sight to the lake, the baby volcano (Mt. Barujari), and the summit in the distance.
The Cons:
-
Relentless Climb: Because you start at 600m and must reach 2,641m, the ascent is incredibly steep and unforgiving from the very first step.
-
No Summit Access: It is practically impossible to summit safely from the Senaru side on a standard 2- or 3-day itinerary, as the summit is on the opposite side of the massive crater lake.
Route Comparison at a Glance
| Feature | Sembalun Route | Senaru Route |
| Starting Elevation | ~1,150 meters | ~600 meters |
| Landscape | Open savannah, rolling hills | Dense tropical rainforest |
| Shade | Very little (bring sunscreen) | Almost completely shaded |
| Main Goal | Reaching the Rinjani Summit | Crater rim views & wildlife |
| Steepness | Gradual start, steep finish | Consistently steep all day |
The Verdict: Which should you choose?
Choose Sembalun if:
You are physically fit, you want to reach the 3,726m peak, and you are booking a standard 3-Day/2-Night or 4-Day/3-Night Rinjani trekking package.
Choose Senaru if:
You only have time for a 2-Day/1-Night trek, you prefer hiking in the shade, you want the best possible sunset photos of the lake, or you simply have no desire to do the grueling 2:00 AM summit push.
Whichever path you choose, making sure you hike with a certified, safety-focused Rinjani trekking guide is the most important decision you will make.